









Key Takeaways About Bidet Sprayer Install
A bidet sprayer install adds a handheld spray, shutoff, and hose to a toilet supply for personal hygiene. This guide is for homeowners and property managers planning upgrades or troubleshooting tight bathrooms where clearances and valve access matter.
- Identify supply compatibility and thread types before buying parts
- Prevent abrasion by routing the hose along gentle smooth curves
- Avoid hidden or hard to reach shutoffs that block emergency isolation
- Spot early leaks by checking for mineral streaks and dampness
- Reduce risk with a quarter turn isolation valve and braided hose
- Plan holder location to preserve tank access and future repairs
Introduction
Adding a bidet sprayer can feel straightforward until you notice clearance, shutoff placement, or hose routing problems. Poor placement creates awkward reach, interference with the toilet, and potential water leaks. Homeowners often discover these issues during a remodel or bathroom upgrade. In Oakley, OH bathrooms with tight layouts require extra attention to fit and access.
Code clearances matter because they affect safety and long term reliability of the installation. Local plumbing codes and national models aim to prevent cross contamination and make maintenance safer. A wrong clearance can block access to the shutoff valve or trap, complicating future repairs. Properties in Montgomery, OH may face similar constraints depending on toilet model and wall layout.
Shutoff valve accessibility is a practical problem that homeowners notice quickly when something leaks. If the shutoff is behind a cabinet or difficult to reach, turning water off during a leak becomes risky. Professionals check valve type, connection quality, and whether a convenient isolation point exists. Clear access also simplifies winterization and routine maintenance.
Hose routing affects appearance and risk of abrasion or kinking over time when installed improperly. Exposed hoses that rub against rough surfaces can develop leaks months after installation. A technician will inspect routing paths, connection fittings, and verify there is no interference with the toilet tank or nearby fixtures. If you see dampness, unusual sounds, or loose fittings, call a professional for a diagnosis and repair plan.
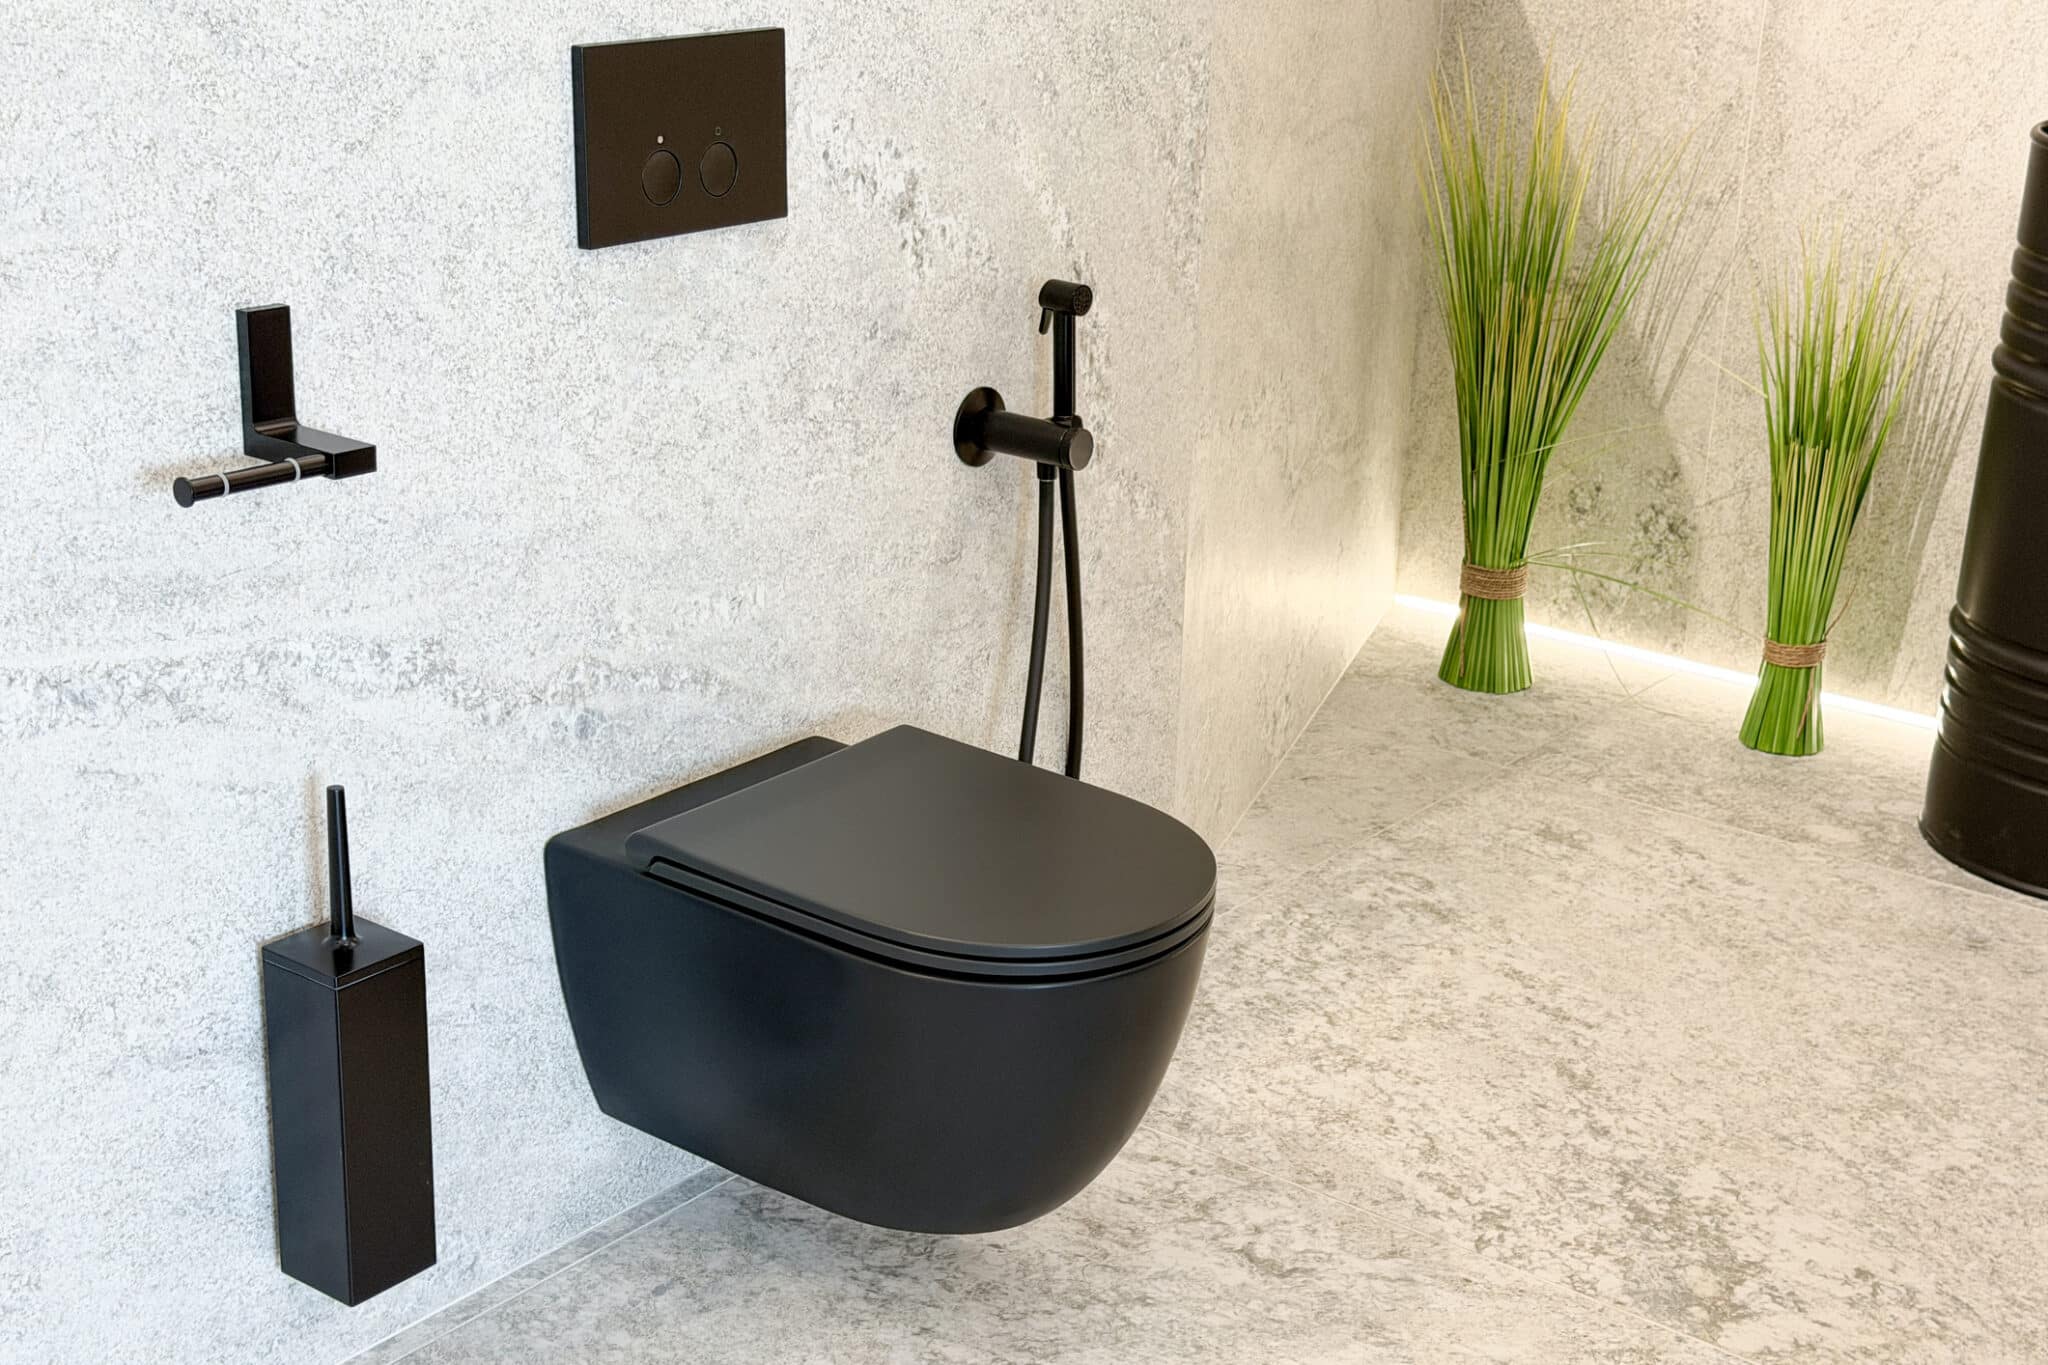
When To Add A Bidet Sprayer Install In Bathrooms
A bidet sprayer install is the addition of a handheld spray and valve to a toilet supply for personal hygiene use. Consider adding one when occupants need better hygiene, limited bathroom space makes separate fixtures impractical, or accessibility creates a need for handheld cleaning. A clear homeowner question is whether an existing supply line can accept a sprayer; the short answer is usually yes with the right adapter and shutoff. Inspect visible supply fittings and tank clearances to confirm compatibility before buying parts.
- Measure distance from seat edge to supply connection.
- Check for interference with tank lid removal.
- Verify shutoff accessibility and orientation.
- Confirm wall or floor mount options if needed.
Space constraints often dictate whether a wall-mount or tank-mount holder works best, so test-fit the spray in its intended spot. Older toilets may have less clearance behind the bowl, which affects hose reach and spray angle. For properties in Montgomery, OH this can be common in compact baths where tank access is limited. A simple fit test with the hose unconnected reveals whether the sprayer will rub, kink, or block toilet removal later.
Plumbing safety requires an accessible isolation valve and a backflow prevention mindset when adding a sprayer near potable fixtures. Homeowners should confirm the existing shutoff is functional and within easy reach of the toilet area. If the shutoff is hidden or stiff, plan on relocating or adding a shutoff within reach before finalizing the install. When in doubt about backflow risk or valve condition, contact a licensed plumber for inspection and fixes.
Bidet Sprayer Install How It Works And Clearances
When you plan a bidet sprayer install, the basic mechanical flow is simple: shutoff, T-adapter, hose, and spray head. A professional checks supply pressure and inspects the existing shutoff for leaks or corrosion before tapping the line. They confirm the T-adapter threads match the fill valve and tank connection to avoid cross-threading during assembly. Visible signs like mineral buildup, slow shutoff action, or dampness alert a technician to replace worn components before proceeding.
Clearances around the toilet affect hose length and spray angle more than most homeowners expect. Measure from the supply connection to where the spray will rest to ensure the hose reaches without stretching or kinking. For wall-mount holders, confirm the holder does not block tank access or seat removal during future repairs. In Oakley, OH bathrooms with compact layouts, this check often determines whether a short or standard hose is appropriate.
Backflow prevention is a key safety concern when connecting a sprayer to potable water. Professionals look for existing check valves or will recommend a hose with an integrated vacuum breaker to reduce contamination risk. Inspecting the fill valve and tank venting is part of confirming the installation won’t create a siphon hazard. If there is any doubt, a plumber will advise replacing the shutoff with a model that supports safe addition of accessories.
Routing the hose through tight spaces requires planning to avoid abrasion and stress points that cause leaks over time. Technicians trace the hose path, secure it with clips, and avoid sharp edges near the bowl or cabinet to prevent wear. They will test the connection under normal and increased pressure to confirm no leaks appear at the T-adapter, shutoff, or spray head. For more on choosing and locating the isolation valve before you add a sprayer, see fixture shutoff valves basics.
Diagnosing fit issues includes simple checks a homeowner can perform and items a professional will confirm. Observe hose movement when you sit and stand, listen for drip sounds after shutting off the water, and look for wet spots around the shutoff and tank base. A plumber will use a pressure gauge and visual inspection to confirm supply integrity and document findings for repair steps. For properties in Montgomery, OH this diagnostic step often reveals whether valve replacement or rerouting is needed for a durable install.
Code Clearances For Fixtures And Wall Mounts
Code clearances around fixtures focus on access for service and preventing interference during normal use. Leave room to remove the tank lid, replace the fill valve, and reach the shutoff without disconnecting the sprayer hose. Inspect the wall or floor space where a holder mounts to ensure it does not block access panels or the toilet mounting bolts. A tight mount can force awkward hose bends that accelerate wear and lead to leaks.
Mounting a holder on a stud or solid backing prevents the holder from loosening over time from repeated use. If the holder attaches to tile or drywall without reinforcement, vibrations and torque from the sprayer will stress fasteners. Professionals often locate a stud or install a backing plate to maintain long-term stability and clearance. This keeps the sprayer within reach while preserving service access to the tank and supply.
Clearance from electrical fixtures and heat sources is also important to maintain safety around potable water connections. Keep the holder and hose away from light fixtures, baseboard heaters, or exposed wiring to avoid heat damage or contact with electrical components. Maintain a gap so the hose cannot rest on hot surfaces during storage or use. If the bathroom includes outlets near the toilet, ensure a GFCI protects them and that routing avoids contact with the receptacle.
Inspect the finished route for the hose to confirm the scope of future maintenance and to prevent code conflicts. A professional will check that the hose does not interfere with the closet flange, supply angle stop, or access to the cleanout during inspection. When replacing an old angle stop, consult guidance such as angle-stop replacement safe to align clearances and shutoff placement correctly. Homeowners in Oakley, OH and Montgomery, OH should expect these checks during a thorough pre-install inspection.
Shutoff Valve Options And Placement Guidance
Choose a shutoff that gives clear, local isolation for the bidet sprayer install so you can stop water quickly during an emergency. A quarter-turn ball stop offers fast shutoff and usually has better sealing than older multi-turn stops. Inspect the valve stem and packing for signs of leakage before relying on it for a new connection. If the existing valve feels stiff or leaks when exercised, plan on replacing it before adding the sprayer.
- Install a new angle stop near the toilet supply elbow.
- Use a dedicated shutoff for the sprayer when space allows.
- Choose a valve with a removable handle for future service.
- Locate the shutoff where you can reach it without moving the tank lid.
Placement height affects hose routing and service access, so locate the shutoff no lower than the toilet base and no higher than the tank top. Positioning the valve beside the supply line reduces sharp hose bends and makes a tidy connection at the T-adapter. Leave a few inches of straight supply line between the valve and the T-adapter to allow a wrench during future repairs. Verify the shutoff does not block removal of the tank or access to the closet bolts.
Materials matter: use braided stainless hose sections and fittings rated for potable water to resist abrasion from normal use. A professional will check for compatible thread sizes and inspect for old compression fittings that may leak under repeated removal. During diagnosis a plumber confirms valve operation, watches for pressure drops, and documents findings with photos or notes. For related upgrade ideas and planning help, review bathroom plumbing upgrades.
If you encounter signs of moisture, mineral staining, or audible drip sounds near the shutoff, stop using the sprayer and have the valve inspected. A technician will test shutoff performance with a pressure gauge and try a controlled shutoff to confirm isolation. If the shutoff fails to isolate, the plumber will recommend relocating or installing a dedicated isolation valve. Homeowners in Oakley, OH and Montgomery, OH should plan valve placement early in the project to avoid rework and ensure a reliable install.
Hose Routing How To Avoid Kinks And Damage
Plan the hose path so it follows the shortest smooth curve between the T-adapter and the sprayer cradle to reduce bending stress. Avoid routing where the hose must pass between the tank and wall or around sharp porcelain edges that can wear the braid. Secure the hose with non-abrasive clips spaced every 12–18 inches to prevent movement and rubbing during use. In Oakley, OH homes with narrow gaps this simple routing prevents most wear-related leaks.
Use a hose length that allows slack when the sprayer is in use without leaving a long loop on the floor that can catch underfoot. Excess length increases chance of kinking when the hose is pulled; too short a hose strains fittings and can loosen connections. Professionals often measure from the shutoff to the intended holder before cutting or selecting a hose to ensure a comfortable reach. For properties in Montgomery, OH this measurement step avoids surprises during final fit.
Protect hose sections that must pass near edges with rubber grommets or split loom tubing to stop abrasion against metal or tile surfaces. Avoid fastening directly to the tank bolts or thin drywall where vibration may wear the covering over time. Inspect any protective sleeve after a week of normal use to confirm it stays in place and shows no chafing. If you notice fraying or exposed braid, replace the hose immediately to prevent a sudden leak.
Check for kinks by cycling the sprayer fully in both directions and watching for restricted flow that indicates internal collapse. A quick diagnostic is to hold the hose mid-length while someone else operates the spray to see if pinching occurs when the hose moves. If a kink appears, re-route to a gentler radius and add an additional clip to control movement. If routing changes still show collapse, consider a higher-pressure rated braided hose or call a professional to inspect supply pressure and hose compatibility.
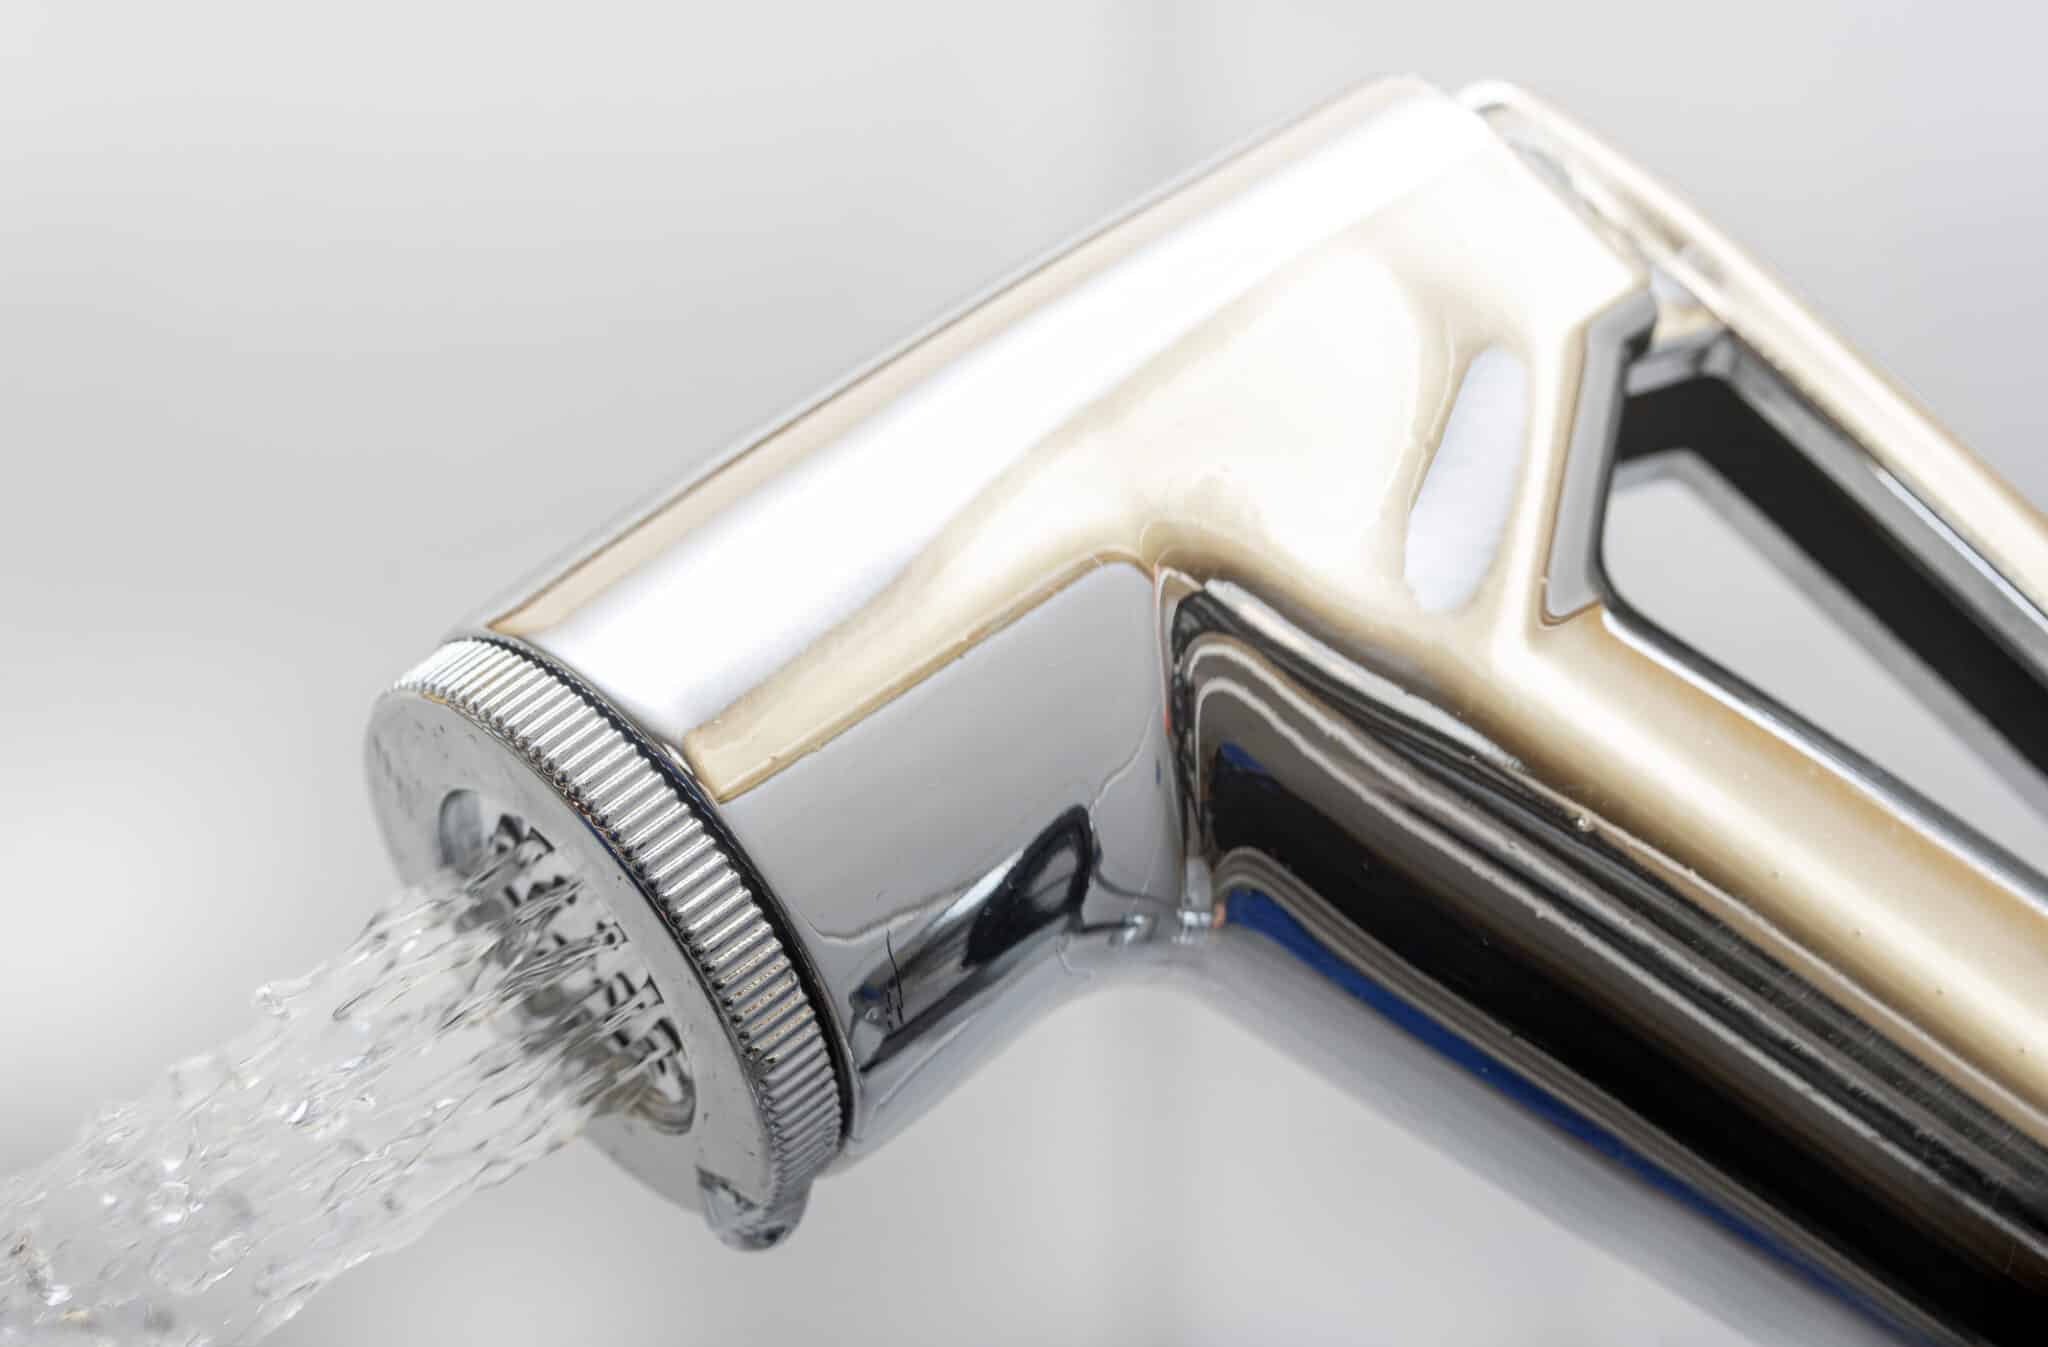
Common Installation Mistakes Why They Happen
Common mistakes start with wrong holder placement that forces repeated bending at a single point, weakening the hose over months. Installers sometimes place the cradle too low, which lets the hose drag and catch on floor fixtures. A sprayer left resting against rough tile edges can abrade the braid and cause a slow leak. Homeowners in Oakley, OH often spot this wear as dark mineral streaks near the base of the toilet.
Another frequent error is relying on the existing shutoff without checking thread compatibility and sealing condition before adding a T-adapter. Cross-threading during final tightness or using the wrong adapter type creates hairline leaks behind the supply elbow. Technicians diagnose this by drying joints, then pressurizing the line while watching for tiny drips at thread junctions. If you see trapped water or steady weeping at fittings after install, the connection likely needs rework.
Improper hose support leads to stress at the adapter and sprayer head when weight pulls on the line during use. Installers who skip adequate clamps or hangers let the hose flex against hard edges and fittings, causing loosening over time. A professional will check hanger spacing and add protection where the hose passes edges, using guidance like pipe hanger spacing practices to reduce motion. Inspect for movement by tugging lightly on the hose and watching for play at each connection.
Failing to plan for maintenance access causes future service difficulty and accidental damage when removing the tank or cleaning around the bolts. Tight mounts or hidden shutoffs force technicians to unmount hoses under pressure, which can create water sprays and possible contamination. During diagnosis, a plumber will document clearance limits and test shutoff isolation before disconnecting any lines. For installations in Montgomery, OH, leaving a clear working space speeds repairs and reduces secondary damage risk.
When Homeowners Should Call A Professional Plumber
If you notice persistent drips, mineral staining, or a shutoff that won’t fully isolate, call a professional plumber promptly. A tech will inspect fittings, test pressure with a gauge, and look for hidden leaks behind tile or trim. They can confirm whether valve replacement or rerouting is needed before further damage occurs. Early diagnosis reduces the risk of water damage to floors and wall finishes.
- Confirm shutoff isolation under pressure.
- Verify thread compatibility at the T-adapter.
- Check hose condition and protective sleeving.
- Document clearances for future service.
If routing requires chasing into a wall cavity or adding backing for a wall mount, hire a plumber to avoid cutting studs or plumbing vents. Professionals trace the supply, locate studs, and recommend mounting reinforcement to protect the holder and hose over time. They also select the correct flexible materials and fittings to match existing plumbing. For more on material choices and durability, review guidance on flexible plumbing materials.
In some cases, a plumber will perform a dye or pressure test to confirm a slow leak source before disconnecting any lines. They will check for internal valve corrosion, worn compression seats, or mismatched adapters that homeowners might miss. If you live in Oakley, OH or Montgomery, OH homes with tight bathrooms, a pro can plan a route that preserves service access. When safety or backflow risk seems unclear, let a licensed plumber evaluate and remediate the issue.
Maintenance Tips To Prevent Leaks And Failures
Schedule a brief visual inspection every six months to spot wear before a failure occurs; look for loose fittings, frayed braid, and mineral streaks. Run the sprayer and watch connections at the T-adapter and shutoff for small weeps that appear only under pressure. If you notice damp flooring or a musty smell under the toilet, stop using the sprayer and isolate the valve immediately. A trained plumber can use a pressure gauge and dye test to confirm the leak source.
Exercise the shutoff valve twice yearly to prevent seizure and confirm it isolates fully when closed; lubricate the stem if recommended by the valve maker. Replace old multi-turn stops showing stiffness or drips rather than relying on them to perform under stress. Keep a spare hose and basic fittings on hand so you can limit downtime if a braiding failure starts. Professionals in Oakley, OH often document valve condition during routine checks to plan future maintenance.
Secure the hose with nonabrasive clips and inspect those clips for movement or wear after cleaning or tile work in the bathroom. Avoid fastening methods that concentrate stress on a single point, and reposition clips if the hose shows a consistent rubbing pattern. Check protective sleeves for chafing and replace any section that exposes the braid to sharp edges or tile grout. If rerouting requires wall access, have a plumber confirm no hidden pipes or vents will be disturbed.
Monitor water pressure and address swings that can stress hoses and fittings; a sustained high-pressure condition shortens component life and raises leak risk. A plumber will read pressure at the supply and recommend a pressure-reducing valve if pressures exceed safe ranges for flexible hoses. Keep records of inspection dates, symptoms observed, and parts replaced to speed diagnosis on future trips. For broader plumbing updates that support durable installs, consult guidance on modern plumbing and plan upgrades accordingly for properties in Montgomery, OH.
Frequently Asked Questions
When is it appropriate to add a bidet sprayer install?
Add a bidet sprayer install when the toilet location has at least 6 inches of clear wall or side space for a holder and hose routing.Confirm an accessible cold-water shutoff and a spare threaded outlet at the toilet supply or install a T-valve at the shutoff.Consider pipe material and wall access so the hose can route without sharp bends or hidden stress on fittings.If plumbing access is limited or you notice corrosion or high water pressure, stop and call a professional for diagnosis and safe installation.
What clearances matter for a safe sprayer installation?
Allow enough space beside the toilet for the sprayer holder and user reach, typically several inches from the bowl edge. Ensure shutoff valve and T-adapter remain accessible for service and emergency shutoff without moving fixtures. Keep hoses routed so they do not kink, rub against sharp edges, or contact hot water lines that could damage the braid. If you see tight spaces, high pressure, or unclear routing, stop and call a licensed plumber to avoid leaks or code issues.
Where should the isolation shutoff be located?
Place the isolation shutoff at an accessible location near the toilet supply stub-out or behind the bowl for a clean bidet sprayer install. Install a quarter-turn ball valve on the cold supply line so you can quickly stop water flow for maintenance. Ensure the valve remains reachable without removing panels or fixtures to reduce leak response time. If piping is hidden or difficult to access, call a plumber because working on pressurized lines carries a safety risk.
How should the hose be routed to avoid abrasion?
Route the hose with gentle curves, avoiding sharp bends and contact with rough edges that can wear the outer cover. Secure the hose with clips or straps every 12–18 inches to prevent movement and rubbing against the toilet or cabinet. Keep the hose clear of the floor and heater pipes, and allow a small service loop near the shutoff valve for removal. If you see fraying, leaks, or if routing requires drilling or tight spaces, stop and call a licensed plumber to reduce water damage risk.
How will a plumber diagnose fit and leak issues?
A plumber will inspect the shutoff valve, T-adapter, and flexible hose for correct thread type and orientation. They will pressure-test the connection and check for visible drips, wetness, or water stains around the flange and supply. A technician may disconnect and use thread sealant or replace fittings if leaks persist, but will avoid instructing DIY repairs for pressurized systems. If pipes look corroded or fittings fail under pressure, stop use and call a professional to prevent water damage and unsafe conditions.