








Key Takeaways About Slab Isolation Valves
Slab isolation valves are shutoff points placed on supply lines under a concrete slab to stop water to a fixture or zone. This summary is for homeowners and property managers who need fast control during leaks or repairs.
- Identify valve locations near chases or access panels quickly.
- Prevent damage by choosing corrosion resistant valve materials.
- Avoid placing valves under permanent fixtures or inaccessible areas.
- Spot signs like wet spots noises or difficulty turning valves.
- Reduce emergency time by labeling photographing and mapping valves.
- Plan regular turn and inspect checks with a pressure gauge.
Introduction
When a slab leak or indoor plumbing repair starts, finding the right shutoff quickly can prevent major water damage. Slab isolation valves allow crews to cut water to a single fixture or zone beneath a concrete slab. Placement strategies affect how fast you can stop the flow and reduce repair scope. Homeowners in Oakley, OH often face delays when valves are poorly placed or unlabeled.
Valve type matters for accessibility and durability under a slab. Ball valves, gate valves, and service stops offer different profiles for lifespan and turn effort. Material choice also matters where water quality or pressure varies within a home. For properties in Montgomery, OH, choosing the right valve can change whether a repair is short or disruptive.
Labeling and clear access points speed emergency control more than most people expect. A visible, accurate label near the main access panel saves minutes during a leak response. Simple signs reduce guesswork for occupants and first responders arriving at a home. Poor labeling often leads to unnecessary drywall or concrete removal during an emergency.
Professional diagnosis confirms whether slab isolation valves will help your situation and where to place them. A technician inspects supply lines, pressure readings, and accessible access points to recommend valve locations. They may use pressure gauges, a visual inspection of the supply manifold, and photos to document options. If there is any safety concern, contact a licensed plumber for assessment and work.
What Slab Isolation Valves Are And How They Work
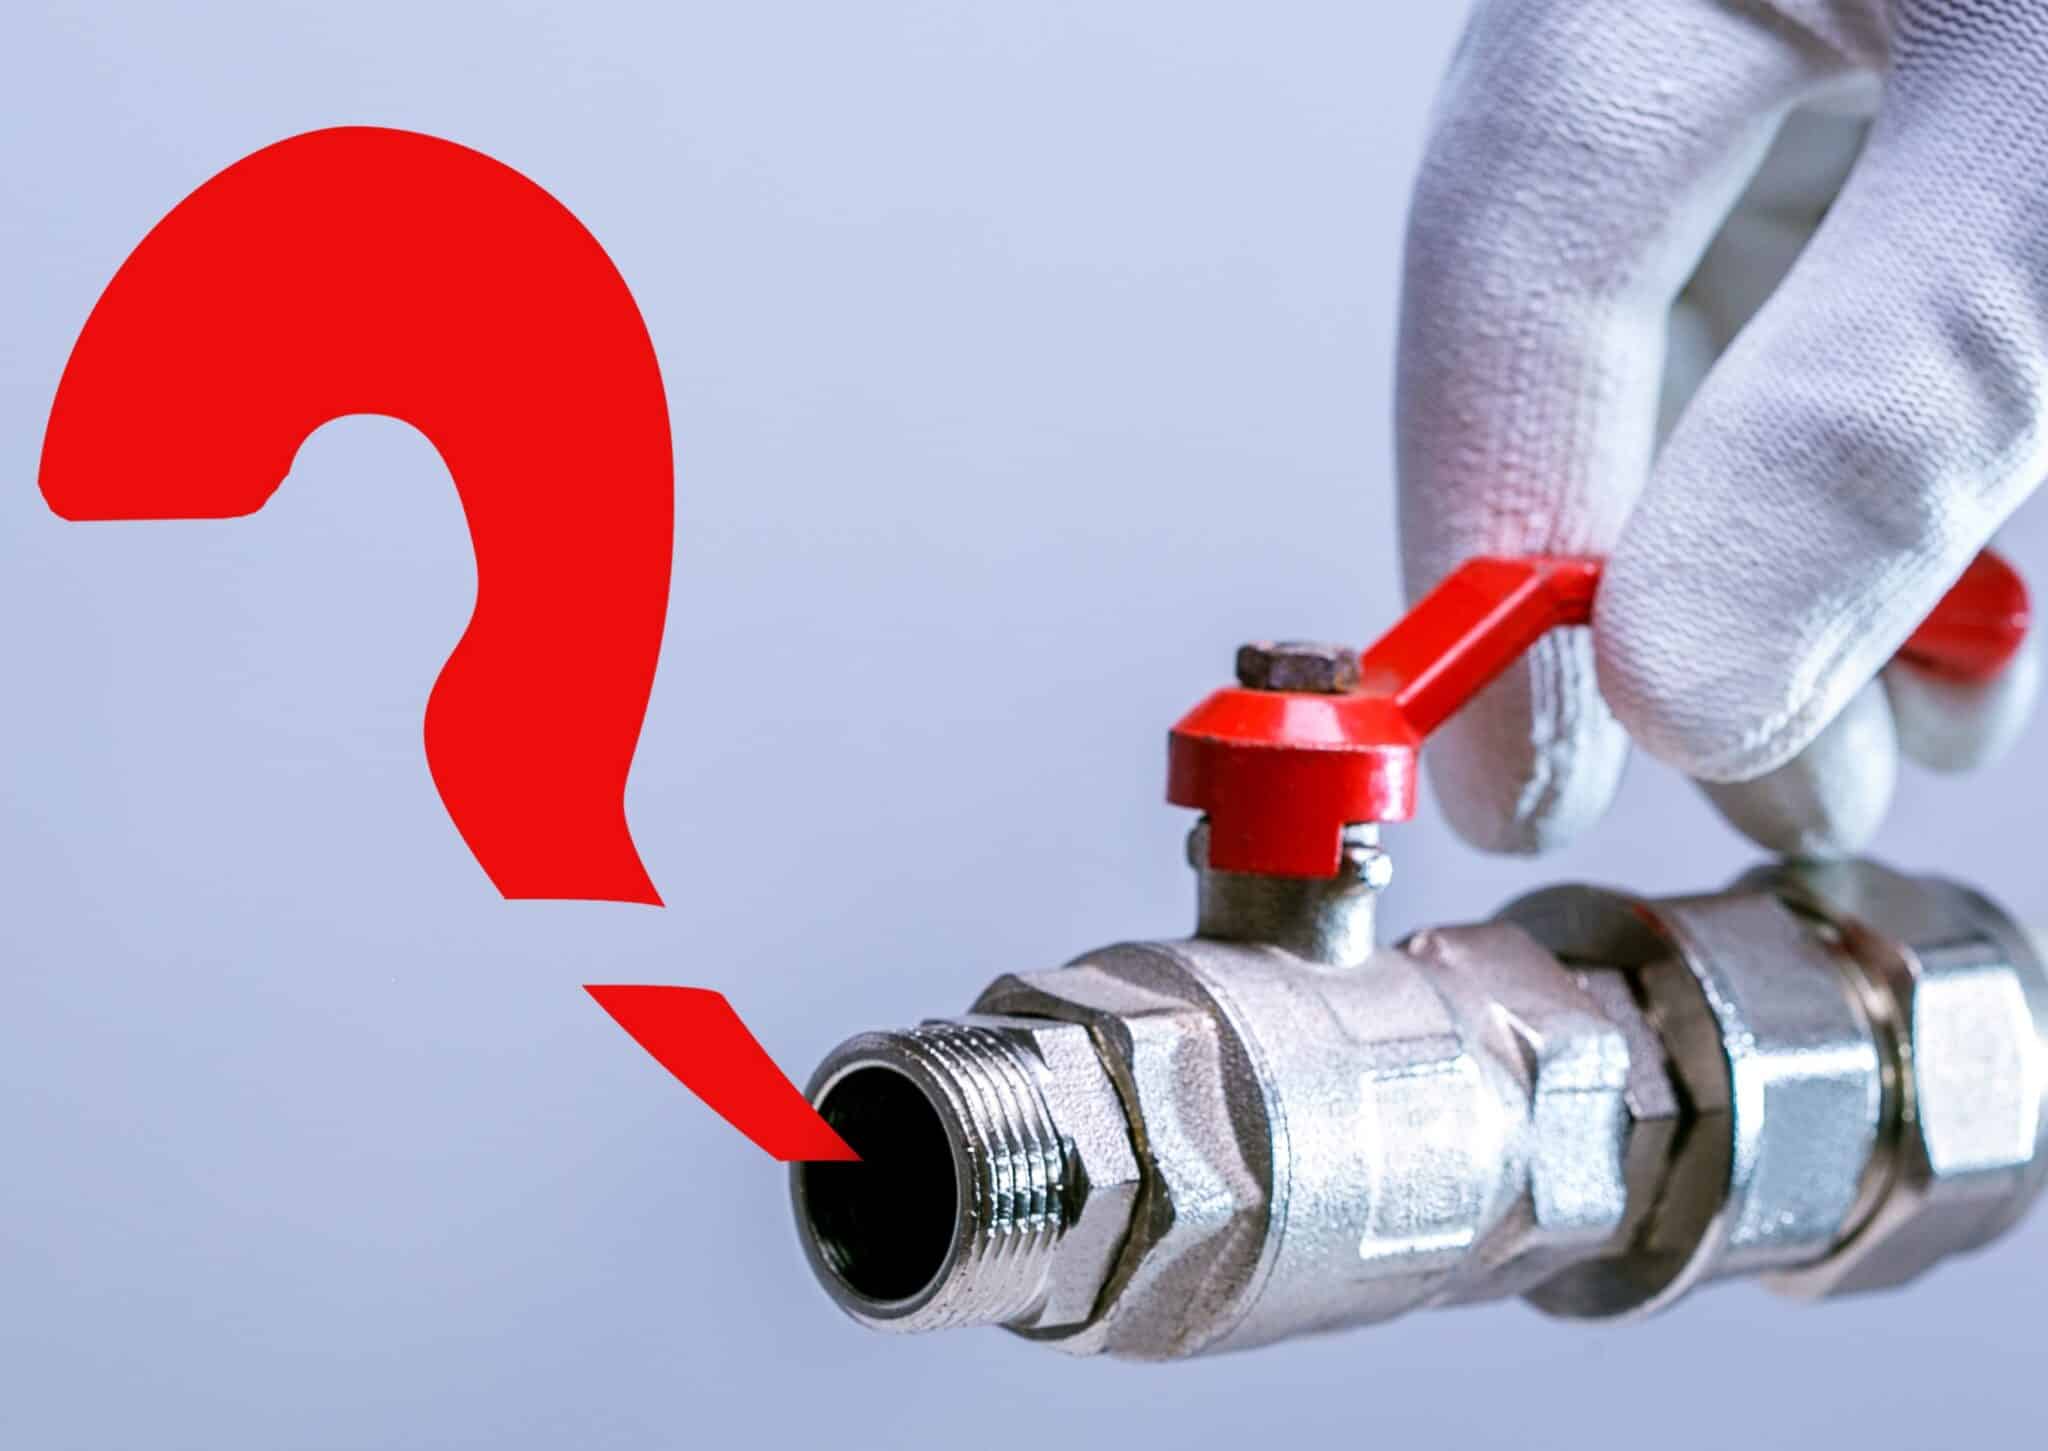
Slab isolation valves are shutoff valves placed on supply lines under a concrete slab to stop water to a specific fixture or zone. They let you cut water to only the affected area without shutting off the entire house. Homeowners often ask whether these valves really speed up emergency responses and the answer is yes when they are accessible and labeled. A clear, working isolation valve reduces water flow quickly, which limits damage and repair scope.
- They mount on cold or hot supply lines under the slab.
- They can be single fixture or multi-branch isolation points.
- They require an access panel or chase for practical operation.
- They should be installed where future repairs are possible.
Most slab isolation valves work by interrupting water flow with a movable element like a ball, gate, or compression stop. Turning the valve closes the passage inside the pipe, stopping flow to the downstream fixtures. A homeowner will notice reduced flow or no flow at fixtures when the valve is closed, which confirms function. A professional will verify closure with a pressure gauge and visual inspection of the access area.
A technician diagnoses whether a valve will isolate the correct section by tracing supply lines and testing fixture shutoffs one at a time. They often use basic tools such as a pressure gauge, flashlight, and photos to map the system and record findings. In some situations a dye test or temporary shutoff may confirm which valve affects which fixture. For homeowners in Oakley, OH and properties in Montgomery, OH this diagnostic step prevents incorrect shutoffs and unnecessary repairs.
Common Causes Of Slab Valve Failure And Why It Happens
Corrosion and mineral buildup commonly stop slab isolation valves from turning after long periods of inactivity. Hard water deposits or rusty stems increase torque and can seize moving parts inside ball or gate valves. Metal fatigue and degraded packing around the valve stem let small leaks form, which often show as damp spots or mineral streaks at nearby fixtures. A technician would inspect the valve stem, packing nut, and visible pipe for corrosion during diagnosis.
Mechanical damage from poor installation or concrete settling can misalign valve bodies and supply lines, causing leaks or difficult operation. Over-tightening during initial installation can distort valve seats and shorten the valve’s effective life. Concrete vibration during construction may crack fittings or weaken soldered joints, creating slow leaks that worsen over time. A professional will look for hairline cracks, test shutoff action, and use a pressure gauge to confirm where losses occur.
Debris and particulate matter in the supply line can lodge against valve seats, preventing full closure and allowing continued flow past the valve. Sediment buildup tends to show as fluctuating pressure or a toilet that never fully stops running despite a nearby valve being closed. Specialists sometimes perform a simple isolation test and inspect downstream fixtures while operating the valve to detect incomplete shutoff. For guidance on durable valve options that resist debris and wear, consult the article about best plumbing valves.
Freeze damage and thermal cycling can warp valve components and stress solder or compression fittings beneath slabs in colder basements. Repeated temperature change may cause tiny leaks that only appear during seasonal shifts or heavy usage periods. Homeowners often notice a slow pressure drop on a morning fixture check or faint water sounds inside walls before visible damage appears. For properties in Montgomery, OH and residents near Oakley, OH, periodic checks before winter help spot temperature-related issues early.
Best Placement Strategies For Easy Emergency Access
Place slab isolation valves near accessible chases or interior access panels so a homeowner or plumber can reach them quickly. Position valves on the supply riser before it branches to fixtures to isolate a whole zone with one turn. Avoid placing valves under permanent fixtures or where concrete pouring covered them without a removable access box. During installation, confirm the valve stem aligns with the access opening so tools can reach it easily.
Locate valves where the valve body clears rebar and aggregate to reduce risk of mechanical damage during slab work. Keep valves at a consistent height relative to the finished floor to standardize access across rooms. If multiple valves sit together, arrange them in a row with enough clearance to operate each without moving others. Document the spacing and orientation with photos for future reference.
When a single zone has several branch lines, install a manifold or grouping of slab isolation valves to centralize control and simplify diagnostics. A centralized cluster reduces the need to open multiple access points during an emergency. Professionals often map these clusters using probing and tracing methods, similar to drain mapping practices described in the article about drain-line mapping. Recording valve positions on that map speeds future repairs and reduces exploratory damage.
Consider accessibility for turning tools, including long-handled valve keys or socket adapters when choosing valve orientation and depth. Choose valve locations that allow visual checks for leakage at the access panel without removing surrounding finishes. For homeowners in Oakley, OH and properties in Montgomery, OH, placing valves near entrances or service rooms can cut response time. If any installation or access decision seems risky, hire a licensed plumber to assess and install the valves safely.
Types Of Valves For Slab Isolation And Selection Tips
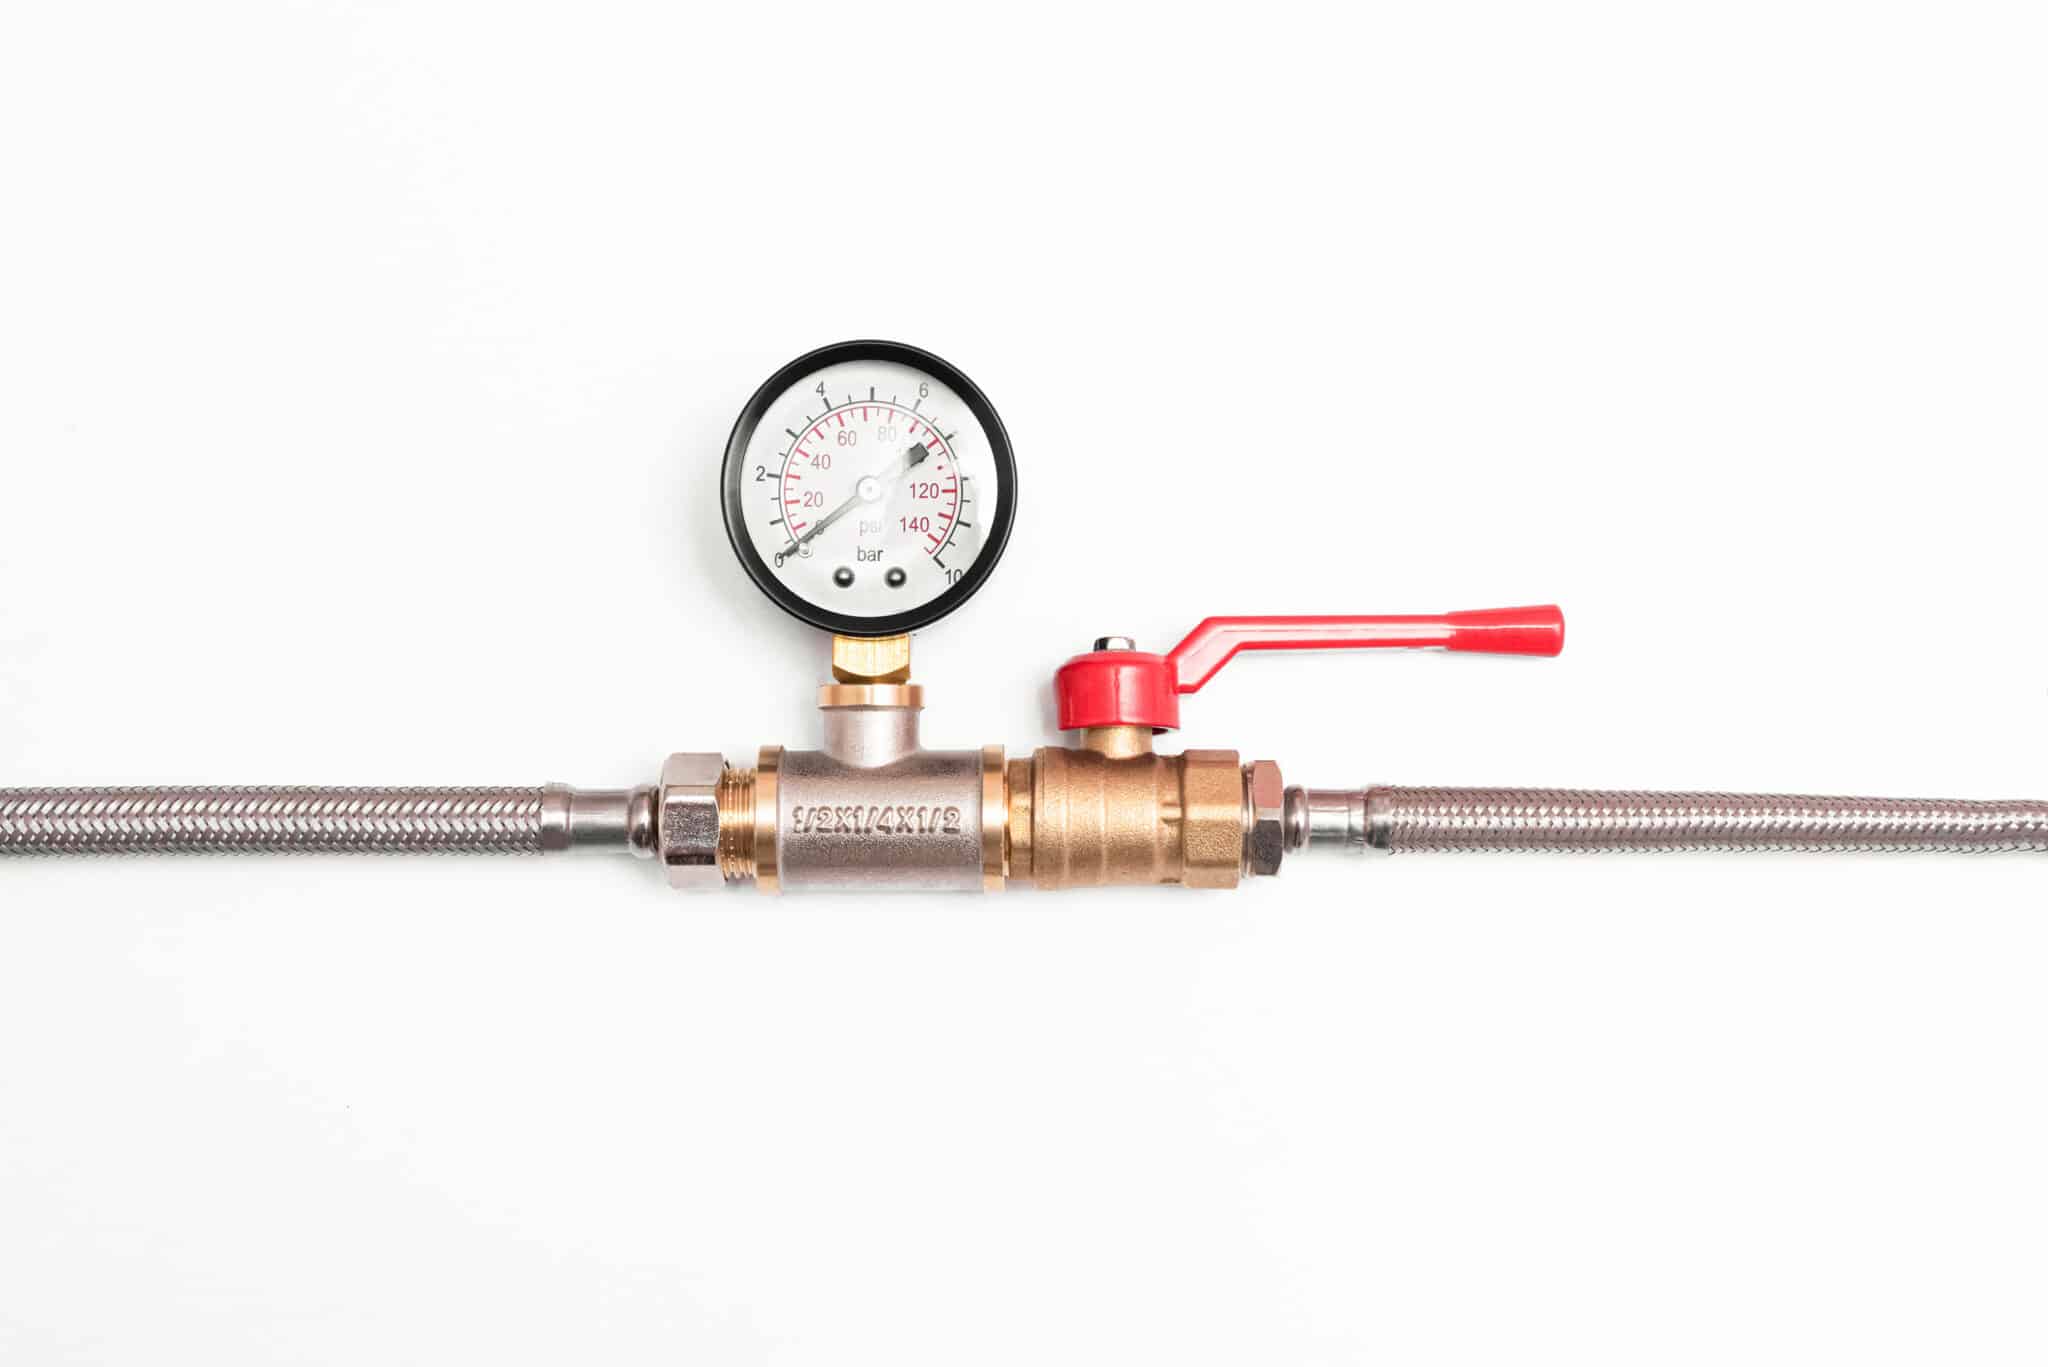
Select valve types based on access needs, expected service life, and ease of operation during an emergency. Brass ball valves offer quick quarter-turn shutoff and resist many debris-related failures when accessible. Gate valves provide fine throttling but require more turns and more clearance to operate reliably. Consider a stop or service saddle where space or alignment limits full valve bodies.
- Ball valves close with a quarter turn.
- Gate valves allow gradual flow control.
- Service stops fit tight spaces.
- Compression valves work on copper lines.
- Soldered shutoffs suit permanent installs.
Material choice affects longevity and maintenance frequency under slabs, so pick corrosion-resistant options for longevity. Bronze and brass resist dezincification better than some cheaper alloys in many supply conditions. Plastics like CPVC or PEX-compatible valves reduce corrosion risk but need compatible fittings and careful installation. A professional will confirm compatibility with existing pipes and pressure conditions before selection.
Professionals diagnose the right valve by tracing lines, testing shutoffs, and reading pressure gauges during isolation tests. They check fixture response when a candidate valve closes and note any slow leaks with a moisture meter. Photos and a written report document which valves control each zone for future reference. For guidance on locating main shutoffs and tying valve plans to the overall system, consult the water main shutoff location guide.
In a common situation, a homeowner hears persistent water noise and finds a steady pressure drop at fixtures. A plumber would close candidate slab isolation valves one at a time while monitoring pressure and fixture flow. They may use a pressure gauge and flashlight to confirm which valve stops the leak and which requires replacement. Homeowners in Oakley, OH and properties in Montgomery, OH benefit from this diagnostic clarity when planning durable valve upgrades.
How To Label Slab Isolation Valves For Fast Control
Start by making a simple map that marks each slab isolation valve and the fixtures it controls, then store the map near the access panel for quick reference. Photograph valve locations and include those images on the map so anyone can visually match the valve to the drawing. In emergencies, a clear picture reduces guesswork and speeds shutoff when every minute matters. Keep a printed copy behind the access cover and a digital copy on a homeowner phone for redundancy.
Use short, durable labels attached to the access cover and valve box that state the exact area served, not vague terms like “water.” Choose laminated or metal tags that resist moisture and will not peel inside damp spaces over time. Number valves sequentially and match those numbers to the map to simplify communication with a plumber. Replace any faded or damaged tags after inspections to maintain clarity.
Include one label with simple operating instructions and the direction to turn for shutoff, since unfamiliar users may hesitate during an emergency. Use plain language such as “Turn clockwise to close” and add a short note to call a licensed plumber if the valve does not stop flow. Store a basic valve key or long-handled adapter inside the access area so occupants can operate valves without searching tools. A visible instruction reduces hesitation and mistakes under stress.
Coordinate labeling with other home emergency markings, like gas shutoff labels, to present a consistent system for responders and occupants, see the gas shutoff labeling guidance for format ideas. Also include a reminder on the map about checking nearby fixtures and monitoring pressure after closing a valve, which aligns with emergency plumbing readiness best practices. For homeowners in Oakley, OH this approach helps reduce confusion during sudden leaks. Properties in Montgomery, OH benefit when labels and maps are updated after any plumbing change or repair.
Warning Signs Of Slab Valve Problems And When To Act
Visible wet spots on ceilings, baseboards, or flooring often precede valve failure under slabs and warrant quick attention. A homeowner may also hear steady water sounds inside walls even when fixtures are off. A professional would check related fixtures and use a moisture meter to confirm active leakage and map the likely supply path. If the moisture meter shows high readings near a known isolation point, further inspection is necessary.
Difficulty turning a valve from the access panel can indicate seized stems or internal corrosion developing beneath the slab. Professionals test valve operation by applying a controlled turning force with a valve key while observing downstream fixture response. They pair that check with a pressure gauge reading to see whether the valve fully closes or allows residual flow past the seat. Persistent partial flow during the test suggests the valve needs repair or replacement.
Intermittent pressure drops or a running toilet that resumes despite a closed isolation valve point to debris or a damaged seat inside the valve body. A plumber will isolate the suspected valve and watch fixture behavior while capturing pressure readings and photos for documentation. Sometimes a temporary shutoff test and downstream inspection reveal whether cleaning or replacement resolves the issue. Review of those test results informs whether a surface repair will suffice or if a valve swap is required.
Corrosion staining or mineral streaks at an access opening often signal slow leaks from packing nuts or joints around the valve stem. An expert inspects the packing, stem, and nearby fittings, using a flashlight and sometimes a small borescope to view confined spaces. If leakage is confirmed, the technician will recommend immediate action to prevent concrete degradation and mold growth. Homeowners in Oakley, OH and property managers in Montgomery, OH should document visible signs and contact a professional if tests confirm ongoing seepage.
When To Call A Professional For Slab Valve Service
If you notice stubborn leaks, fluctuating pressure, or a valve that spins without stopping flow, call a professional promptly. A licensed plumber in Oakley, OH will perform controlled isolation tests and monitor pressure with a gauge to confirm the valve’s condition. They will also inspect nearby fittings and packing for seepage using a flashlight and moisture meter. Early professional assessment reduces the chance of hidden damage beneath the slab becoming worse.
- Confirm which valve controls the affected fixture.
- Measure static and dynamic water pressure.
- Document valve operation with photos.
- Replace or service valves that fail closure tests.
If corrosion, seized stems, or persistent residual flow show during testing, schedule service without delay to avoid worsening leaks. Technicians will sometimes expose a small access area to reach and remove the valve for closer inspection. They may recommend replacing the valve with a compatible material that suits existing piping and pressure conditions. For homeowners unsure whether a slab leak caused the issue, a professional can link valve failure to slab leaks and advise on repair options.
A clear diagnostic report helps you decide next steps and prevents unnecessary concrete breaking during repairs. Professionals often include photos, pressure readings, and a written recommendation in their report for future reference. Homeowners in Oakley, OH should keep the report with valve maps and labels for emergencies. Property managers in Montgomery, OH benefit from scheduling routine checks when multiple units share similar slab plumbing.
Preventive Maintenance Steps For Reliable Shutoffs
Schedule routine turn-and-inspect checks every six to twelve months to keep slab isolation valves operational and easy to turn. During a check, operate each valve fully while watching downstream fixtures for residual flow or pressure changes. Record the action, time, and any stiffness or leaks in a simple log for future reference. If a valve resists turning, stop and call a licensed plumber to avoid damaging the stem.
Flush lines and operate nearby fixtures after exercising valves to clear trapped debris that can prevent full closure later. A homeowner can run a sink or tub briefly while the valve cycles to move loose sediment away from the seat. Professionals might add a short pressure test with a gauge to confirm a complete shutoff after flushing. Keep photos of the access area and valve orientation with your maintenance notes for quick identification.
Inspect access covers and support hardware around valves for secure fastening and proper spacing to avoid future strain on fittings under the slab. Improperly supported pipes can transfer stress to valves and cause early failure, so check for loose hangers or shifting boxes. Review guidance on proper support during inspections, including recommended hanger spacing for horizontal runs that feed slab valves. For more on support best practices, reference the pipe hanger spacing guidance used by professionals.
Replace worn packing, faded labels, or corroded tags during maintenance visits to ensure rapid identification and operation during emergencies. A technician can reseal the packing nut or swap a stem seal without breaking concrete if the access allows. Keep a lightweight valve key or compatible adapter stored with the access panel to avoid tool delays during urgent shutoffs. For properties in Oakley, OH and maintenance programs in Montgomery, OH, regular preventive steps reduce emergency response time and repair scope.
Frequently Asked Questions
Where should slab isolation valves be placed for fastest shutoff?
Place slab isolation valves at the point where the main supply line rises from the slab and before any branch to fixtures. Locate valves in an accessible chase, utility room, or service panel to avoid concrete cutting. Label each valve clearly and include a durable tag or map so anyone can shut water off quickly. If cutting or working near slab piping poses risk, stop and hire a licensed plumber to avoid damage or safety issues.
How do I label slab isolation valves for emergency use?
Mark each slab isolation valve with a durable, weatherproof tag showing its function and the area it controls. Use clear short labels like “Kitchen Cold” or “Main Water – Garage” printed in bold, legible type. Place a simple map or diagram near the main access point and store a photo on your phone for quick reference, call a professional if you cannot safely access the valve. If a shutoff involves gas or complex plumbing, exercise caution and contact a licensed plumber to avoid hazards.
Which valve types work best under a concrete slab?
For slab installations, ball valves with full-port designs and quarter-turn operation work well because they seal tightly and resist clogging. Gate valves can be used where space restricts handle movement, but they require more maintenance over time. Brass or stainless steel bodies resist corrosion under slab conditions better than cheap materials, and robust packing prevents leaks. If digging or hot work is needed, exercise caution and hire a professional to avoid damaging lines or creating safety hazards.
How will a pro diagnose a valve that won’t fully close?
A technician will first observe visible signs like leaks, corrosion, or mineral buildup at the slab isolation valves and nearby fittings. They will shut the valve while watching downstream fixtures and use a pressure gauge to confirm incomplete shutoff. If resistance or debris is suspected, the pro may remove the actuator or bonnet for inspection and use basic cleaning tools, avoiding DIY invasive work. If the valve shows internal damage or the shutoff still fails, stop and call a licensed plumber for safe repair or replacement.
What signs show a slab isolation valve needs replacement?
Look for persistent leaks at the valve body or wet concrete around the slab isolation valves, which indicate seal or corrosion failure. Difficulty turning the handle, excessive force, or a handle that spins without stopping flow shows internal parts may be broken. Visible rust, mineral buildup, or a valve that won’t fully shut off during a pressure check are clear signs to replace it. Caution: because cutting into a slab and working on pressurized water lines carries risk, contact a licensed plumber for diagnosis and replacement.